How to install Maestro Latt?
The unique tongue and groove connection makes it perfectly possible to install the Maestro Latt panels yourself, both in new builds and renovations. You essentially create a new, smooth, and even surface layer, regardless of the condition of the underlying wall. This makes Maestro Latt a striking eye-catcher that you can easily install yourself in just one day, without any cutting or demolition work.
Step by Step

Step 1: Determine your installation method
Choose between a wooden batten frame (easy to remove later) or direct gluing on top of the existing wall.
For Maestro Latt Led:
Plan where you want to place the LED strips and provide a power supply for connection.

Step 2: Prepare your space and panels
Chosen for gluing?
Clean the wall thoroughly to remove any dirt or moisture and make sure it’s completely dry.
Chosen for anchoring with staples or clips?
Check whether the wall is suitable for installing a batten frame.
For all methods:
Cut all Maestro Latt panels to the desired size (standard height 125 cm or 277 cm).
For Maestro Latt Led:
Cut the LED strips to size.
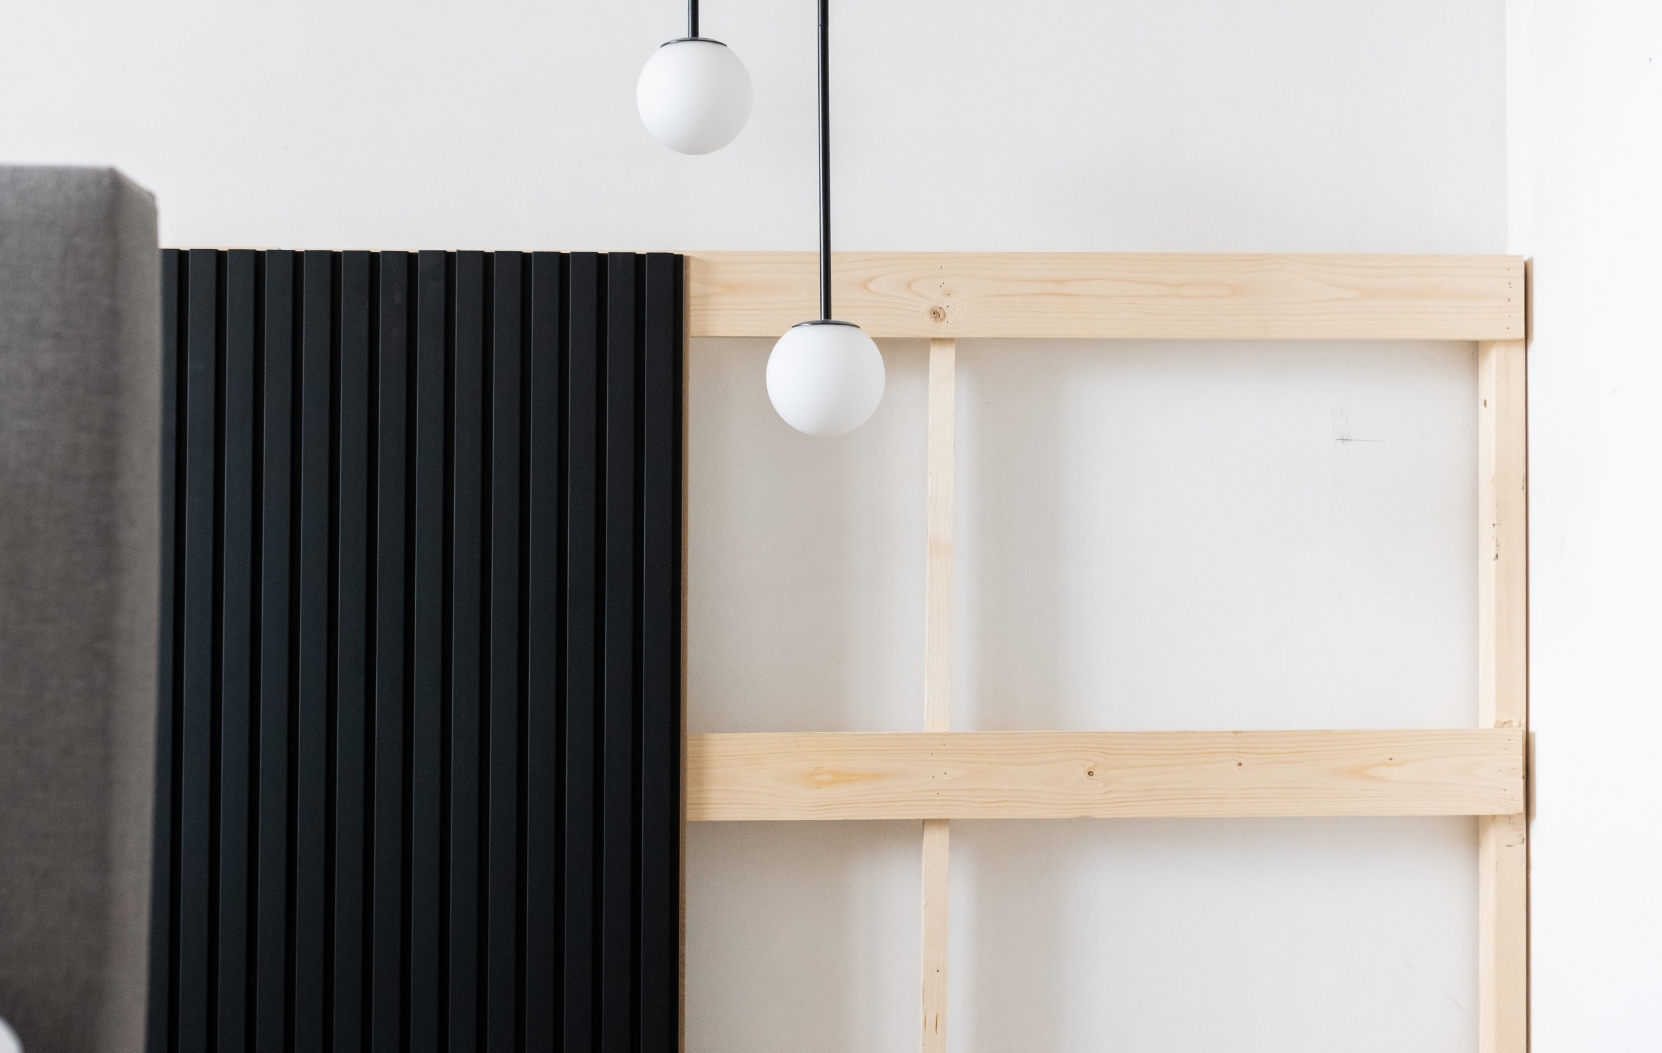
Step 3: Build your batten frame
Chosen for gluing?
Go directly to Step 4.
Chosen for anchoring with staples or clips?
Create a wooden batten frame with battens parallel to the panels.
Make sure the frame is completely level and firmly secured.

Step 4: Install a corner profile (when only part of the wall is covered)
Covering the entire wall from floor to ceiling?
Go directly to Step 5 (no start profiles needed).
Not covering the full wall?
Make sure to use a starter profile for a neat finish.
Note: together with the end profile, this will make your wall 71 mm wider.
For Maestro Latt Wave and Ocean, the corner profiles measure 14x25 mm (Wave) and 10x59 mm (Ocean) respectively.
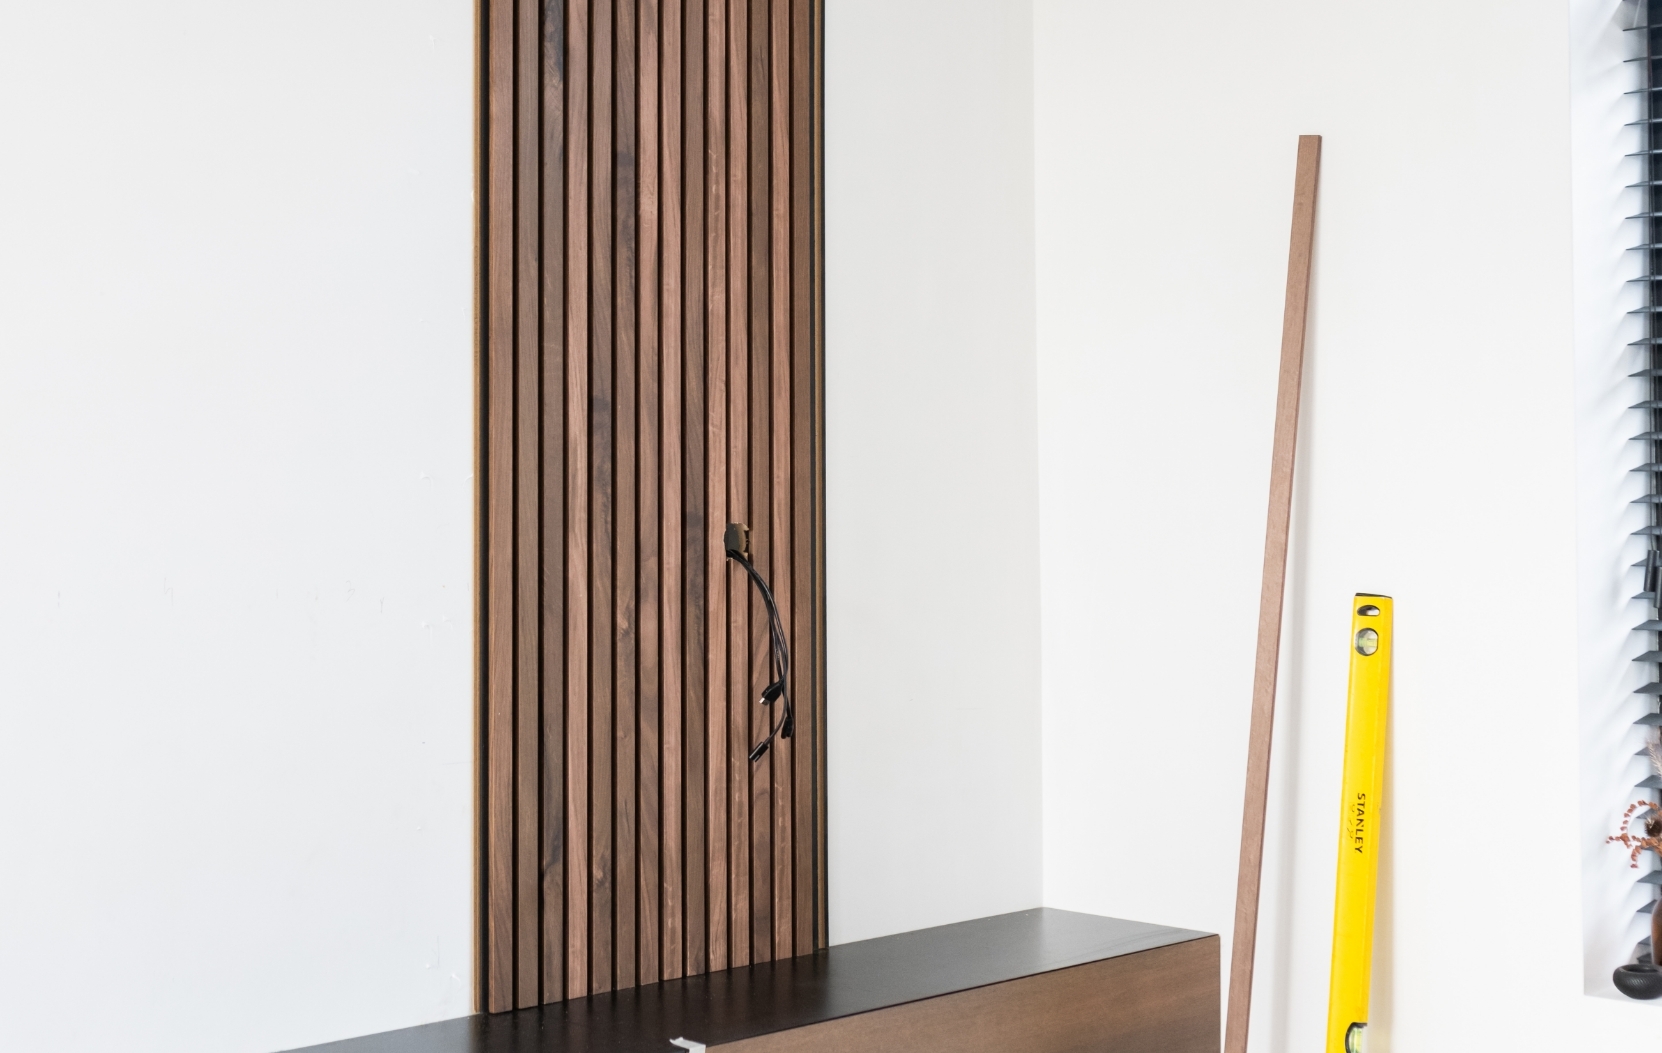
Step 5: Install the panels
Chosen for gluing?
Apply adhesive to the wall and to the MDF base on the back of the panel.
Chosen for anchoring with staples or clips?
Staple the panels in place or use Maestro Latt mounting clips on the frame.
For all methods:
Use the tongue and groove connection for a perfect fit between panels.
For Maestro Latt Led?
Place LED strips into the light-transmitting profiles while installing the panels.
Connect the LED strips to the power supply and test the lighting.
Distribute the LED strips evenly for a beautiful light effect.
Step 6: Finish neatly
Check all joints and panel connections.
In case of full wall covering:
Check the connection to both the floor and the ceiling.
In case of partial covering:
Make sure the corner profiles align properly at both the start and end of your feature wall.
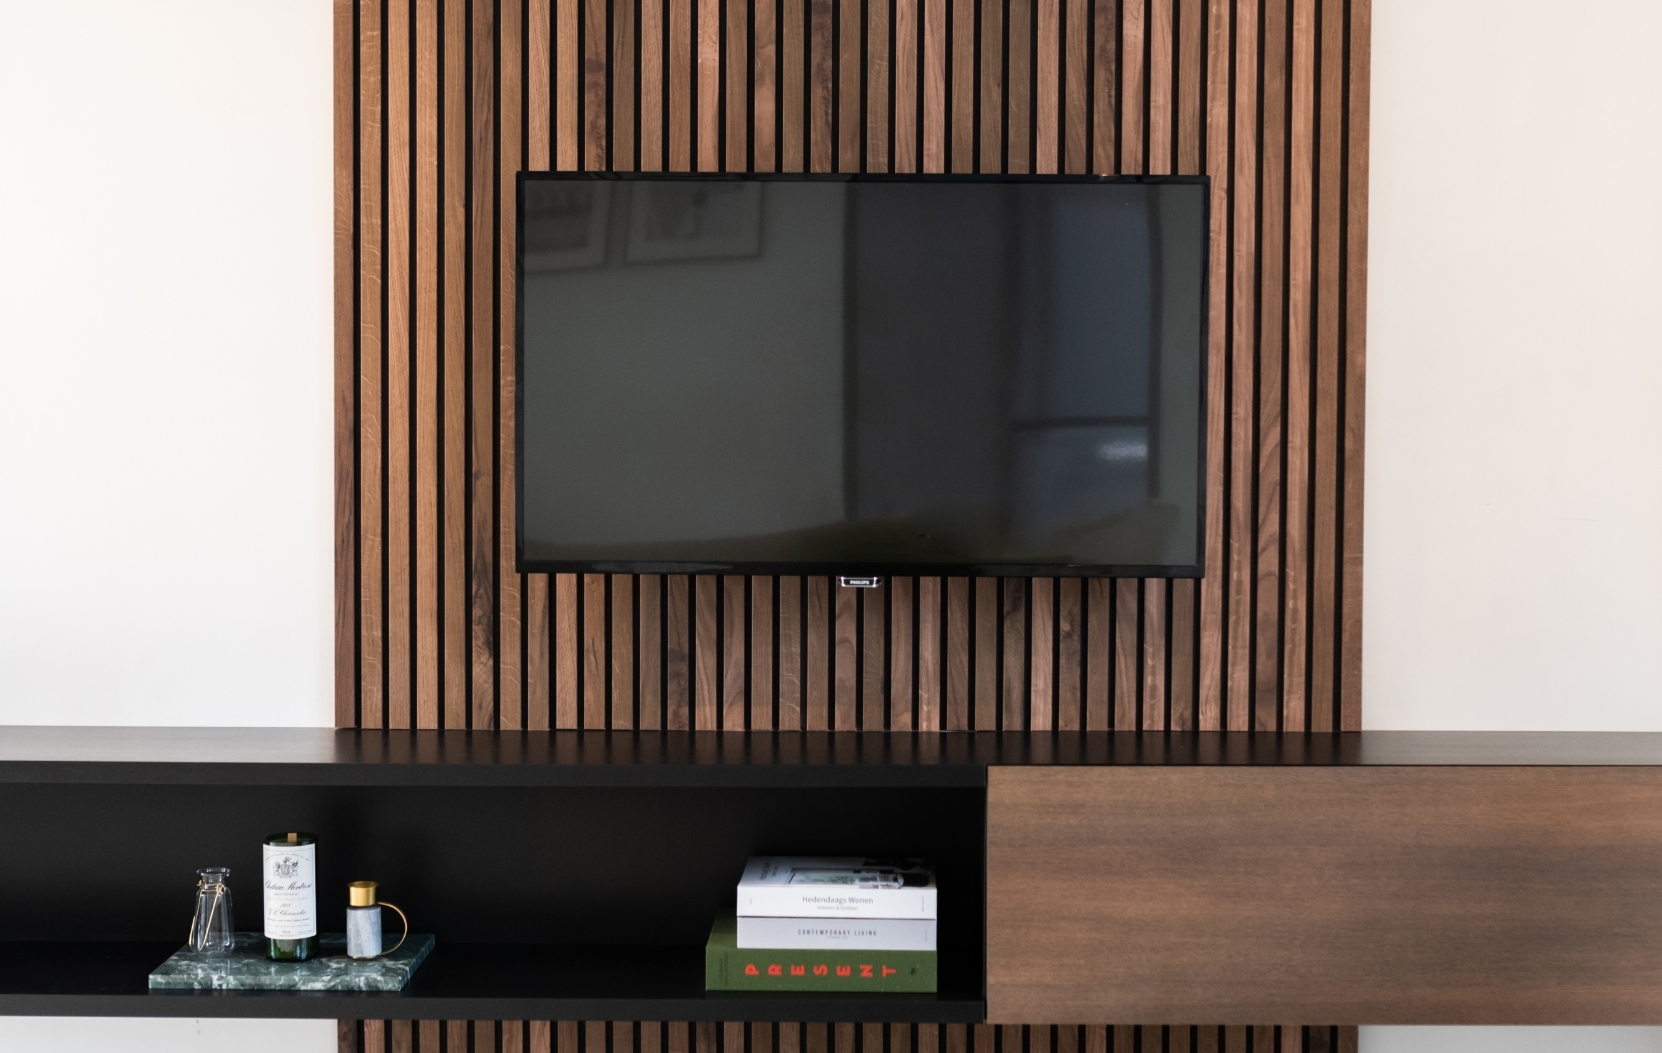
Enjoy your new wall finish!